
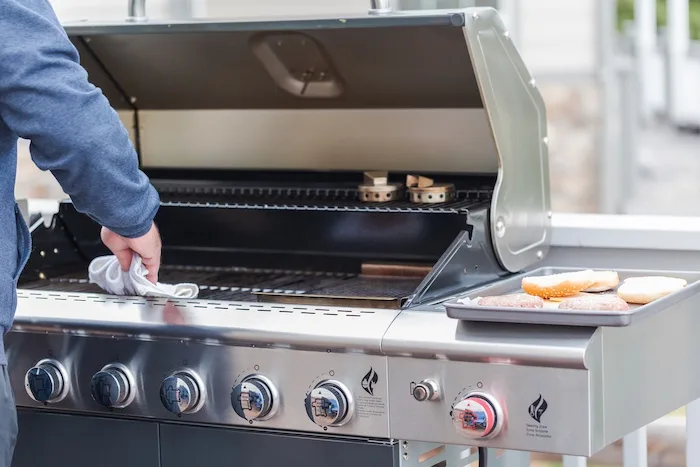
5 easy steps to prepare your grill for Mother’s Day, Memorial Day, and all summer long!
Read your owner’s manual.
Whether this is a new grill or one you’ve been using for years, take the time to carefully read through your grill’s owner’s manual in order to familiarize yourself with all your grill’s parts and features. The manual also provides helpful safety information and can make helpful recommendations for use and maintenance.
Prep your propane.
Start preparing your grill for use by performing a leak test if you have a gas grill. This makes sure that the connection from your propane tank or gas line to your grill is safe and in good working order.
First, visually check your grill for any cracks. If none are visible, brush the regulator, lines valves, and connections with soapy water, and then run the lines. If any bubbles appear while the gas is running, tighten the connections and replace the line or hose.
Check your fuel level. If your grill doesn’t have a gauge, pour a glass of warm water down the side of your tank. Wherever the water starts to feel cool on the tank is your fuel level.
Fire up the burners without the grates in place in order to look for spots that aren’t flaming evenly and to check your flame color. When examining the flame color of your grill, you’re looking for a blue fire with yellow tips. Be wary of an all-yellow flame on a gas grill, as it probably means there isn’t enough pressure coming from the gas tank. Turn everything off (the tank, the control valve, etc.) and disconnect the tank. Once cool, clear any blockages in the burners with a paper clip, open and close the valves, reconnect them, and slowly turn the gas back on. If that doesn’t work, your burner ports could have gotten wider over the years and they might need to be replaced.
Deep clean and perform maintenance.
Start by removing debris from the flame tamers (located directly over the burners) with a wire brush. Then remove the flame tamers and check the burners for clogs. Just brush portholes with a stainless steel wire brush in an up-and-down motion or use a toothpick, pipe cleaner, or paper clip to de-clog any build up.
If your grill lacks spider guards, use a small brush to clean out debris or insect nests from the venturi tubes, which connect the gas to the burners. If tubes are removable, use a garden hose to spray water through the tube or use a long, flexible brush to clean the interior. Make sure tubes are dry before reattaching. Next, check that the grease pan is clean to prevent dangerous grease fires. Give this a look before the season starts and after every few cookouts to make sure it doesn’t overflow.
For a charcoal grill, be sure to empty all ashes and unburnt charcoal from the bowl and ash catcher. If you’re using a gas grill, empty the grease trap.
Turn all your burners to high for a gas grill or light coals in your charcoal grill for 20 minutes. When your grill reaches high temperatures, leftover debris will loosen or turn to ash and will easily brush off. Be sure to turn burners off before you start scrubbing.
Stainless steel brushes work great but may leave behind tiny metal bristles that get in your food. Instead, for deeper cleaning, soak grates overnight in a mix of two cups of vinegar and one cup of baking soda. Any leftover debris should rinse off with water and a little elbow grease.
Once the inside of your grill is good to go, wipe down the exterior. Grill surfaces are made of different materials and require different cleaning methods. Soapy water is the safest cleaning solution for most grills, but for a deeper clean use window cleaner for porcelain-coated steel lids and stainless steel cleaner for stainless steel lids.
Season your grill.
While the grill is off and the grates are cold, coat all surfaces of the grates and emitters with high heat cooking oil, such as canola, vegetable, or peanut oil. For best results, use a spray bottle filled with cooking oil to coat your grill grates. Wipe off excess oil with a paper towel. A thin layer of oil should remain, coating the grates evenly.
Ignite the grill and heat for a good 30-40 minutes until the oil burns off or the grates begin to smoke. The shiny finish should turn dark brown or bronze. The darker and more seasoned the grates become, the hotter and more evenly they will cook.Once the grill has cooled, apply a light coat of oil after each use to prevent rusting.
For a more natural approach, some suggest heating up your grill to bake off some crud, then rubbing down the still-warm grates with a sliced onion, cut-side down, on the end of a fork. This will loosen up grit and make a grill easier to clean.
Find and fix your grill’s hot spots.
To identify the heat pattern, cover grates with slices of white bread and run burners on high for a few minutes. Cut the flame and flip the slices to see which toasted most, indicating where the hot spots are. To even out the heat, add grates of hard-anodized aluminum, an excellent conductor, like GrillGrate (about $40 and up). Or place indirect-heat food on cooler areas and direct-heat food on the warm ones.